|
1951 Chevy Accessories Installation Manual |
|||
|
986272-986273-986274-986275-986276
VENTSHADES
Procedure
for Installation of Ventshades on All
Model Passenger Cars. |
986433 OUTSIDE CAR VISOR - METAL
Procedure
for Installation of Outside Car Visor on All Model Passenger Cars, except
Bel Air and Convertible |
||
|
|
|||
 |
 |
||
|
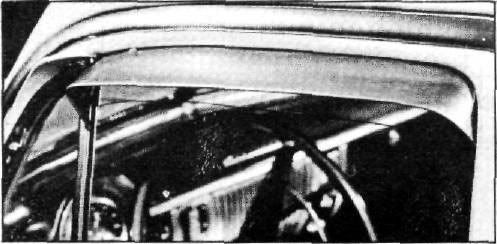
Figure 203
1. Ventshades will fit only the models shown
on the carton
label.
2. Ventshades are stamped to show their
position - RF for right
front door; LR for left rear,
etc.
3. Insert flange between the weatherstrip and
vent wing division post. Then
work the flange up between the
weatherstrip and reveal moulding, flange should disappear and
curves fit properly. (If
weatherstrip bead overlaps the
vent wing division post, clip off overlapping
portion.) |
|||
|
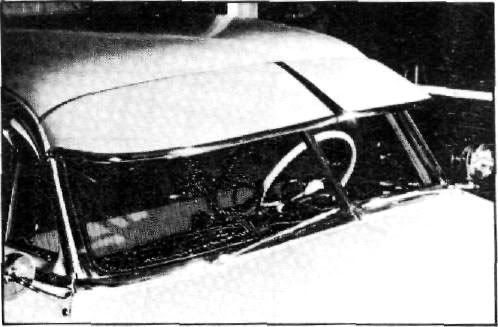
Figure 205
1. Prepare visor for painting by thoroughly
cleaning with a naptha
dampened cloth, allow sufficient time to dry. It is not necessary
to apply another primer coat
before painting to match color of car. Mask out underside surfaces and stainless steel leading edge
trim, before spraying. Paint
only the top surfaces of the
visor.
2. Align center support in proper position
between both visor body
sections and fasten all three
members together with three screws, lockwashers and nuts as shown in figure
206. |
|||
 |
|||
 |
|||
|
|
|||
|
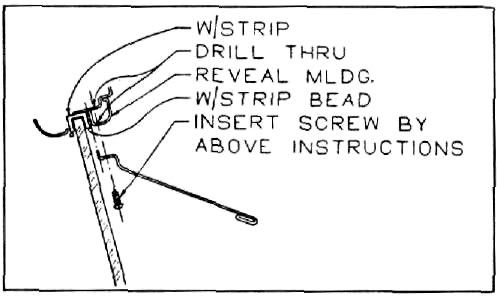
Figure 204
4. Center punch and drill the front screw
hole, using a 3/32 inch drill.
Drill through reveal moulding and door frame as shown in figure 204. Insert self-tapping
screw.
5. Holding shade in position, center punch and
drill remaining hole and insert
self-tapping screw.
6. Run window glass up, if window binds spread
glass channel to allow complete
closing.
NOTE: Installation procedure is
the same for all styles and body
models.
Approximate Flat Rate Time .3
of an hour. |
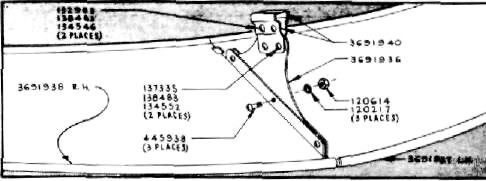
Figure 206
3. Assemble center clamps to center support
as shown in figure 206, by
inserting two screws into
adjusting slots with washers and nuts, then insert two clamping screws to
clamps with washers and nuts. (DO
NOT TIGHTEN NUTS.) Allow
sufficient width between
jaws to pass over moulding.
4. Place curved edge of medallion around
leading edge of visor and
draw tightly over rear edge of visor. Insert screw through hole in
medallion and visor and fasten securely as shown in figure
207. |
||
|
|
|||
|
86 |
|||
|
|
|||
| « PREVIOUS PAGE | CONTENTS PAGE | NEXT PAGE » |
|
|